Introduction
Are you a beginner who wants to start blogging without any paid theme or coding? You’re in the right place!In this tutorial, I’ll show you how to create a blog using WordPress and the BlogBull free theme the exact one I used in my YouTube tutorial on Allround Zone.
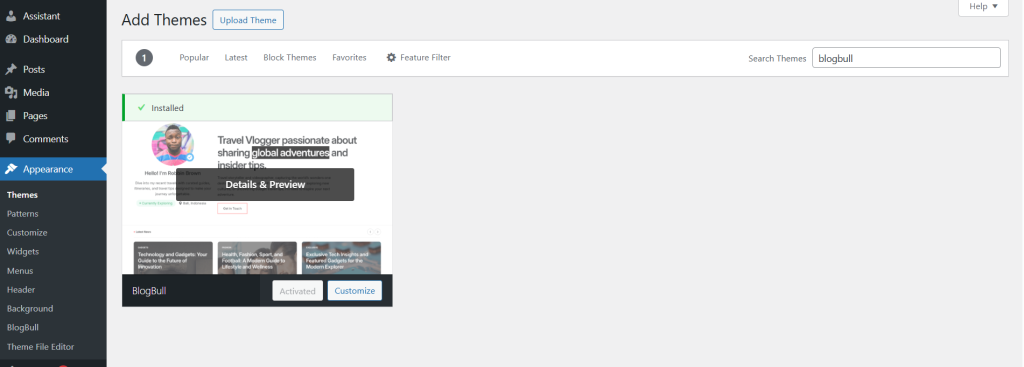
Step 1: Install the BlogBull Free Theme
Go to your WordPress dashboard:
- Click Appearance → Themes → Add New
- Search for BlogBull
- Click Install and then Activate
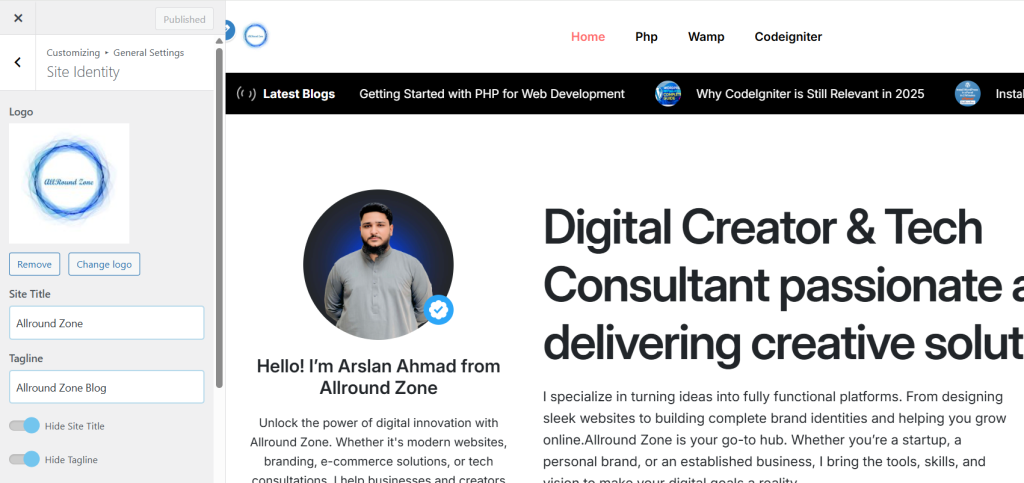
Step 2: Customize General Settings
Go to Appearance → Customize → General Settings
- Upload your Site Logo
- Hide Site Title and Tagline
- Upload a Site Icon (favicon)
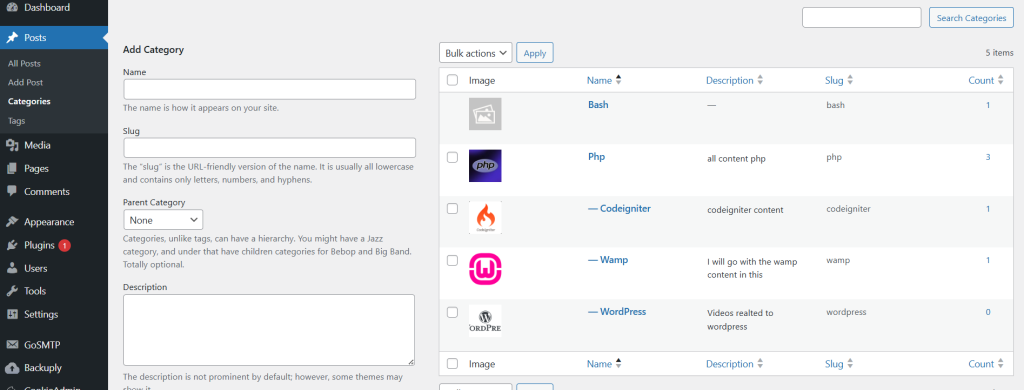
Step 3: Create Blog Categories
Navigate to Posts → Categories
Create:
- PHP (Parent)
- Web (Child of PHP)
- CI (Child of PHP)
You can upload a logo/image for each category for better display.
Step 4: Create Blog Posts
- Go to Posts → Add New
- Add a title and post content
- Select a Category
- Upload a Featured Image
- Click Publish
Tip: Use dummy content (e.g., via ChatGPT) for layout testing.

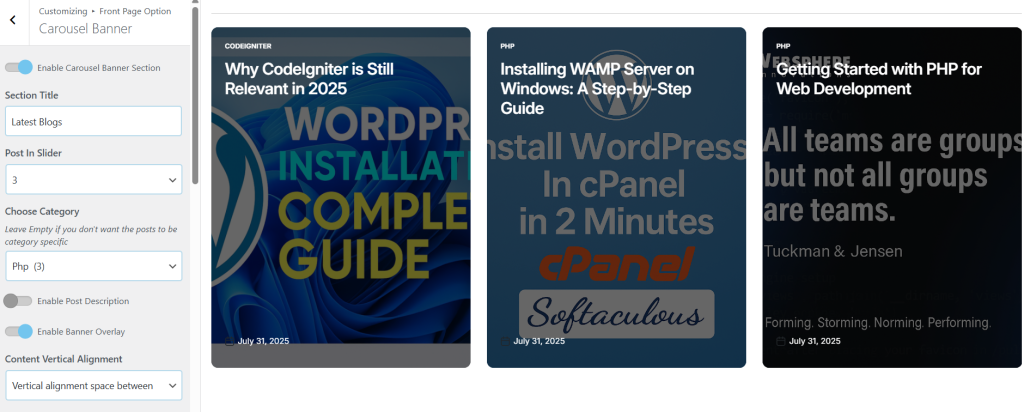
Step 5: Set Up Homepage Sections (With BlogBull Customizer)
Go to Appearance → Customize
Latest Blogs Section
- Enable section
- Set to display only on homepage
- Show posts from PHP category
- Title it: “Latest Blogs”
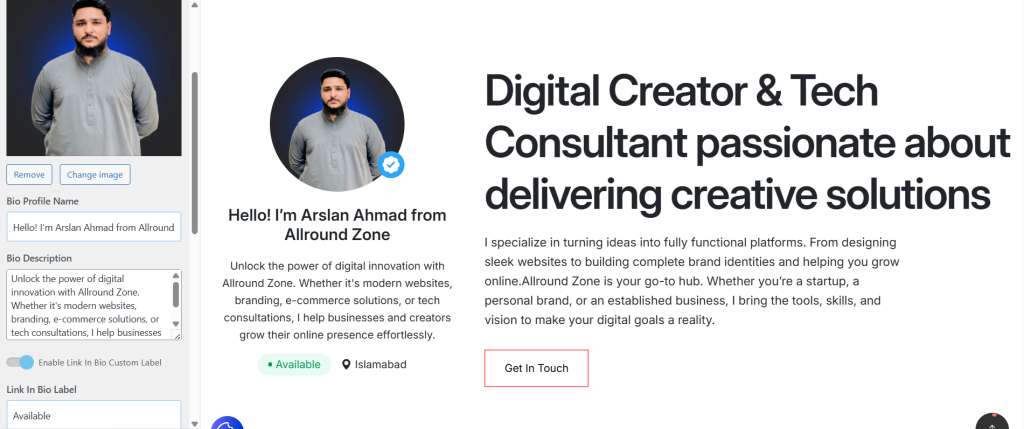
Bio Section
Add your:
- Name
- Image
- Location (e.g., Islamabad)
- Social or YouTube link
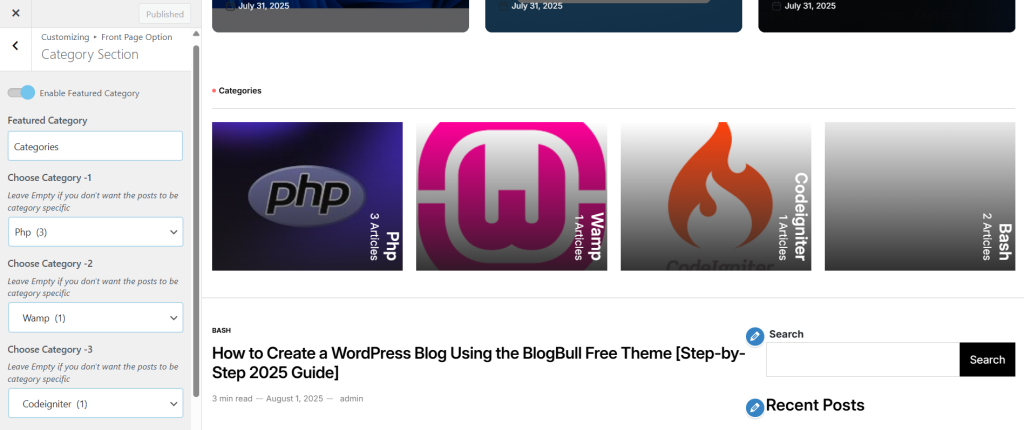
Category Section
- Enable it and assign up to 3 categories
- BlogBull will display how many posts each contains
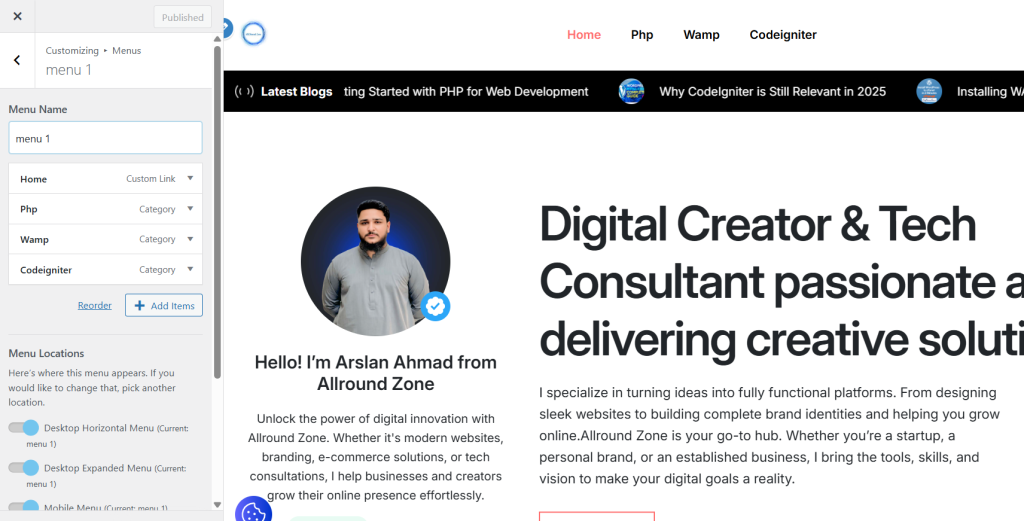
Step 6: Create Navigation Menus
Go to Appearance → Menus
- Create a menu named “Menu 1”
- Add links to:
- Home
- PHP (category)
- Web
- CI
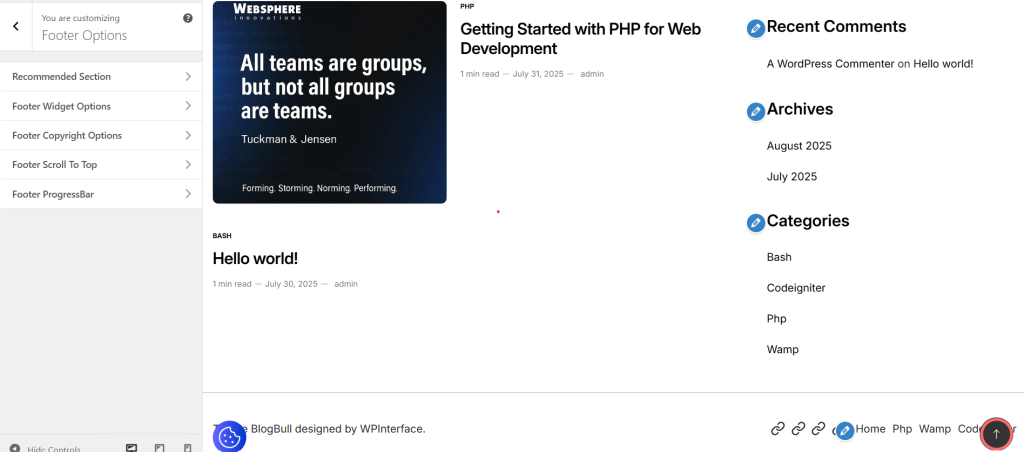
Step 7: Customize Footer & Widgets
Footer:
- Enable footer widgets (optional)
- Disable extra sections like:
- Popular Posts
- Must-Read
- Main Banner
- Recommended Post
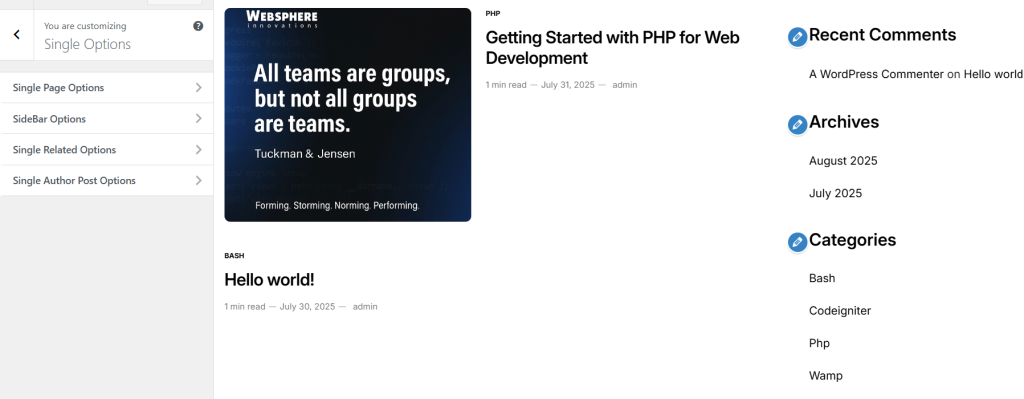
Step 8: Customize Single Post Page
- Show/hide author info, publish date, and related posts
- Choose sidebar layout (left, right, or bottom)
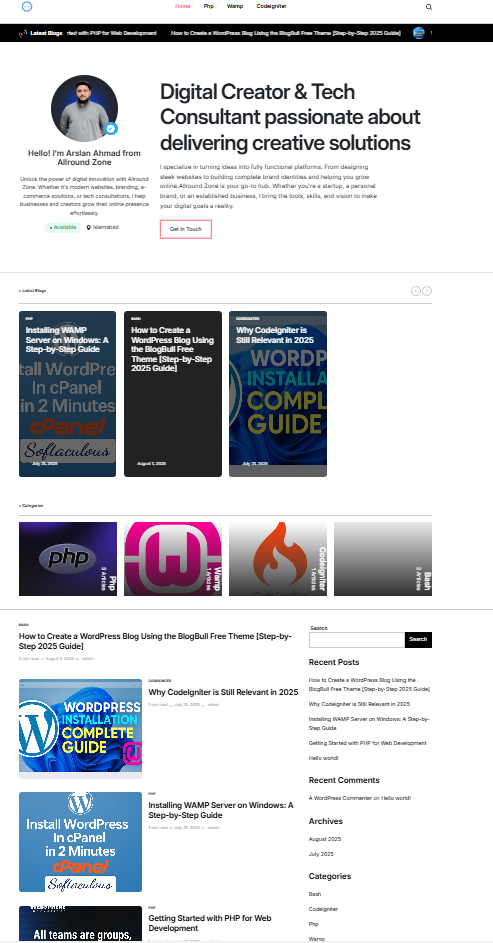
Final Website Preview
By now, your site should have:
- A logo and custom header
- Latest blogs and featured categories
- A simple, scrollable homepage
- Clean navigation and readable blog posts